How to Make a Bucket Light: A DIY Dark-Sky-Compliant Outdoor Light
These bucket lights reduce light pollution, help restore our view of the stars when used to replace outdoor lights that produce more light pollution, and improve safety on the ground…
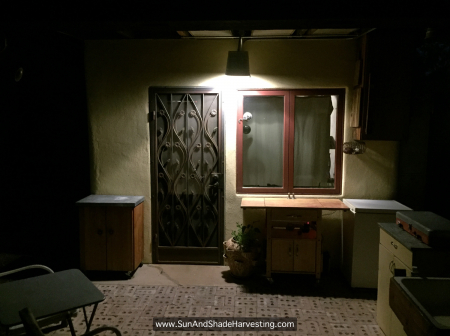
According to the International Dark Sky Association, that also helps improve our health, wildlife and ecosystem health, night sky heritage, and safety, while reducing energy waste and consumption. Take a look at my blog entry, Night-Sky Harvesting, to see how these bucket lights reduced glare and light pollution, while also making my brother’s home safer.
Click on the images below for expanded views.
What you’ll need:
Materials
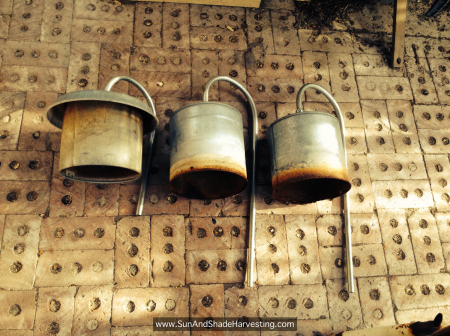
- Metal bucket or chicken waterer (get it new or salvage an old used one)
- ½-inch EMT metal electrical conduit (can often get short scrap pieces from electrical supply shops or thrifty electricians)
- Wide washer
- Clear exterior-grade silicone construction caulking
- ½-inch exterior-grade EMT compression fitting
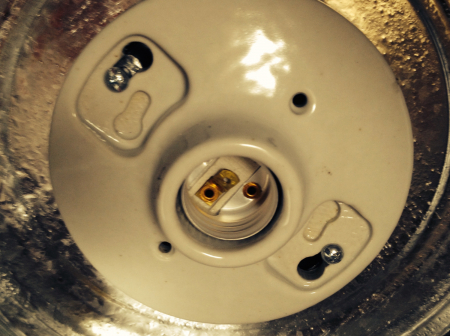
- Pancake electrical box
- Porcelain light fixture (aka, “lampholder”)
- Light bulb (efficient “warm-white” LED bulbs have less glare than “blue-rich white light” bulbs; 800 lumens or less (the fewer lumens, the lower the light pollution))
Tools
- Tape measure and marker or pencil
- Drill
- Uni-bit
- Lineman’s pliers
- Needle nose pliers
- Caulk gun
- Two crescent wrenches or vice grips
- Rat-tail metal file
- Phillips screwdriver
- ½-inch EMT conduit bender
- Illustrated basic-wiring book (check the library if you don’t own such a book)
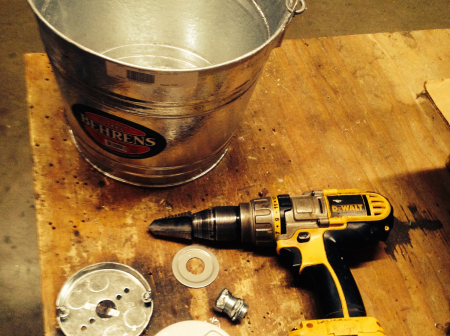
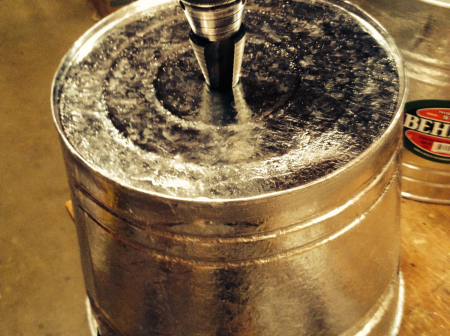
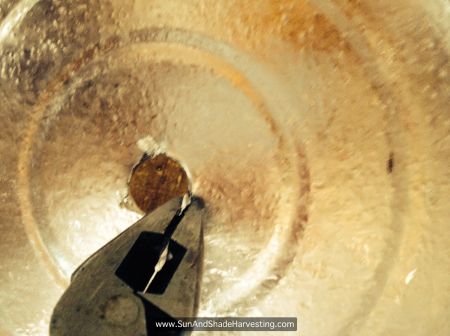
Measure and mark center of the bottom of the bucket. Drill hole in the center of the bottom of the bucket with the uni-bit (fig. 4). Drill slowly until the hole is just big enough for the ½-inch compression fitting. Check to make sure compression fitting fits in hole.
Twist and file off any burrs around edge of hole with lineman’s pliers and a rat-tail file (fig. 5).
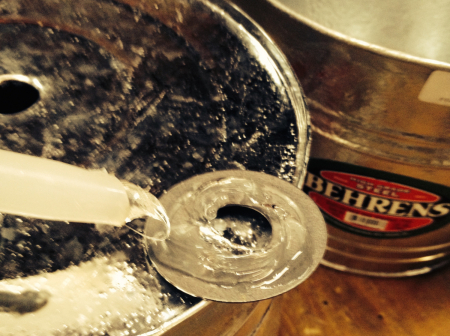
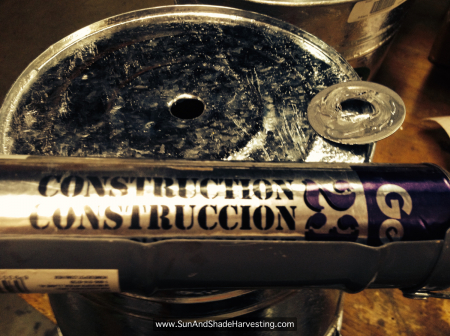
Caulk the bottom of the washer and place on outside bottom of bucket (which will be top of fixture) (figs. 6 and 7). This is an important step, as you want to ensure that during a rainstorm no water will get to the wiring inside the fixture. To be even safer, you can caulk the compression fitting where it enters the bucket, once installed.
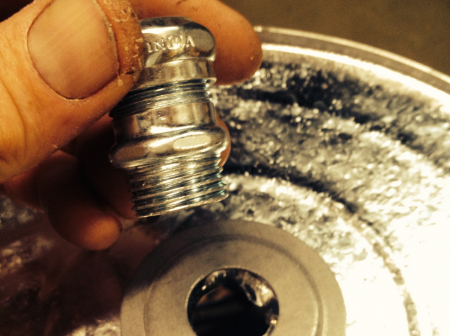
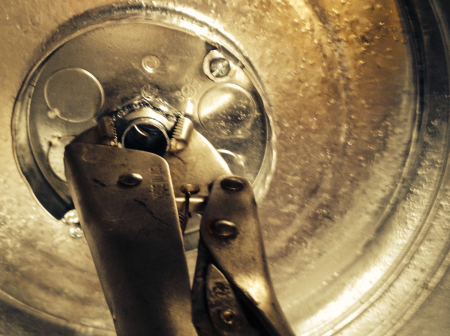
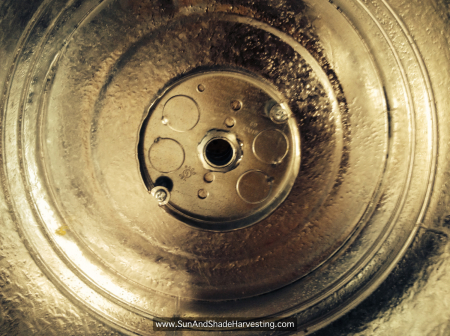
Insert compression fitting through washer and hole (fig. 8), then through pancake box on the inside of the bucket (fig. 9). Then tighten the compression fitting’s ring onto the threads of the fitting with a crescent wrench or vice grip (fig. 10). You will need another crescent wrench or vice grip on the other side of the fitting (outside bucket) as you do this.
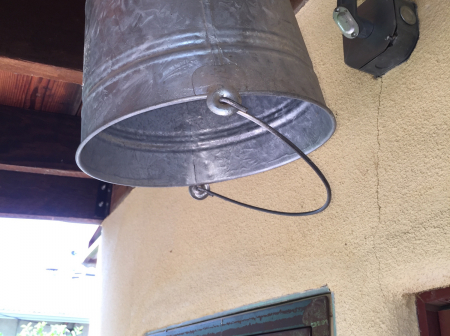
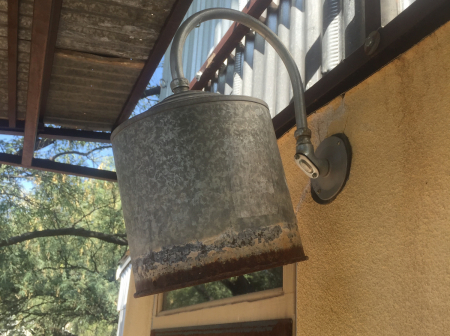
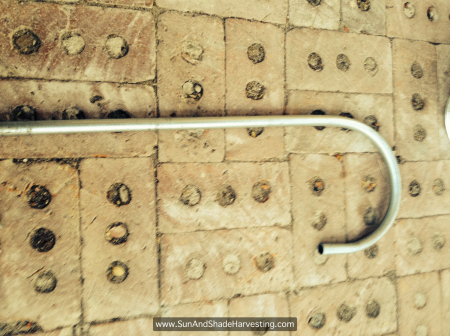
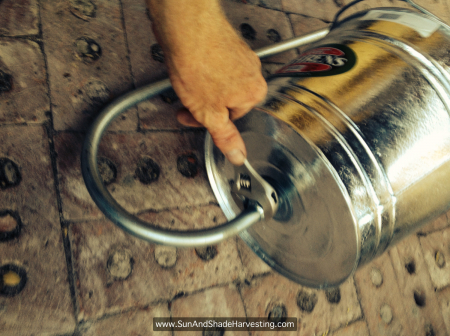
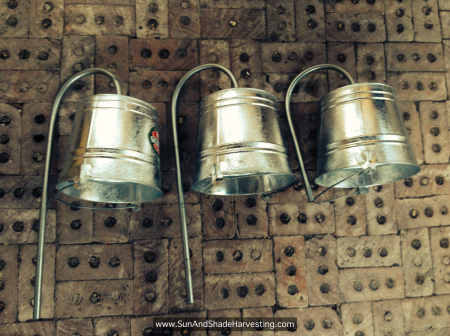
Use a ½-inch conduit bender to bend the ½-inch conduit. Note that if your piece of conduit is too short, this will be difficult. Bend conduit enough that bucket light will cast light down and onto the wall to which it is installed (figs. 1 and 11). Tighten compression fitting (and bucket) to conduit (fig. 12). You may need two crescent wrenches to get it tight enough.
You are now ready to wire and install your light (fig. 13). Refer to an illustrated basic-wiring book for how to do this.
By reducing the amount of glare from the outdoor light, safety is enhanced, as it becomes much easier to see who or what may be lurking in the shadows.
More about the functional design of the garottage where we installed these bucket lights can be found here.

